Photo by Stephen Phillips - Hostreviews.co.uk on Unsplash
How to Add Google Analytics to Your Hashnode Blog
A step by step guide to add the free analytics tool to your blog in just a few minutes
Table of contents
Background
Every blogger wants to know how their work is being received by the community. However, understanding your readers can be like staring into the void. Google Analytics is the light that you might be looking for.
Google Analytics offers a plethora of detail about your readers. The core features entail measuring the number of site visitors, sessions, and duration spent on the site. Best of all, it's totally free :).
Google offers an academy for those interested in learning more about the features.

Tutorial
- To add Google Analytics to your Hashnode blog, open Google Analytics and login using a Gmail account.
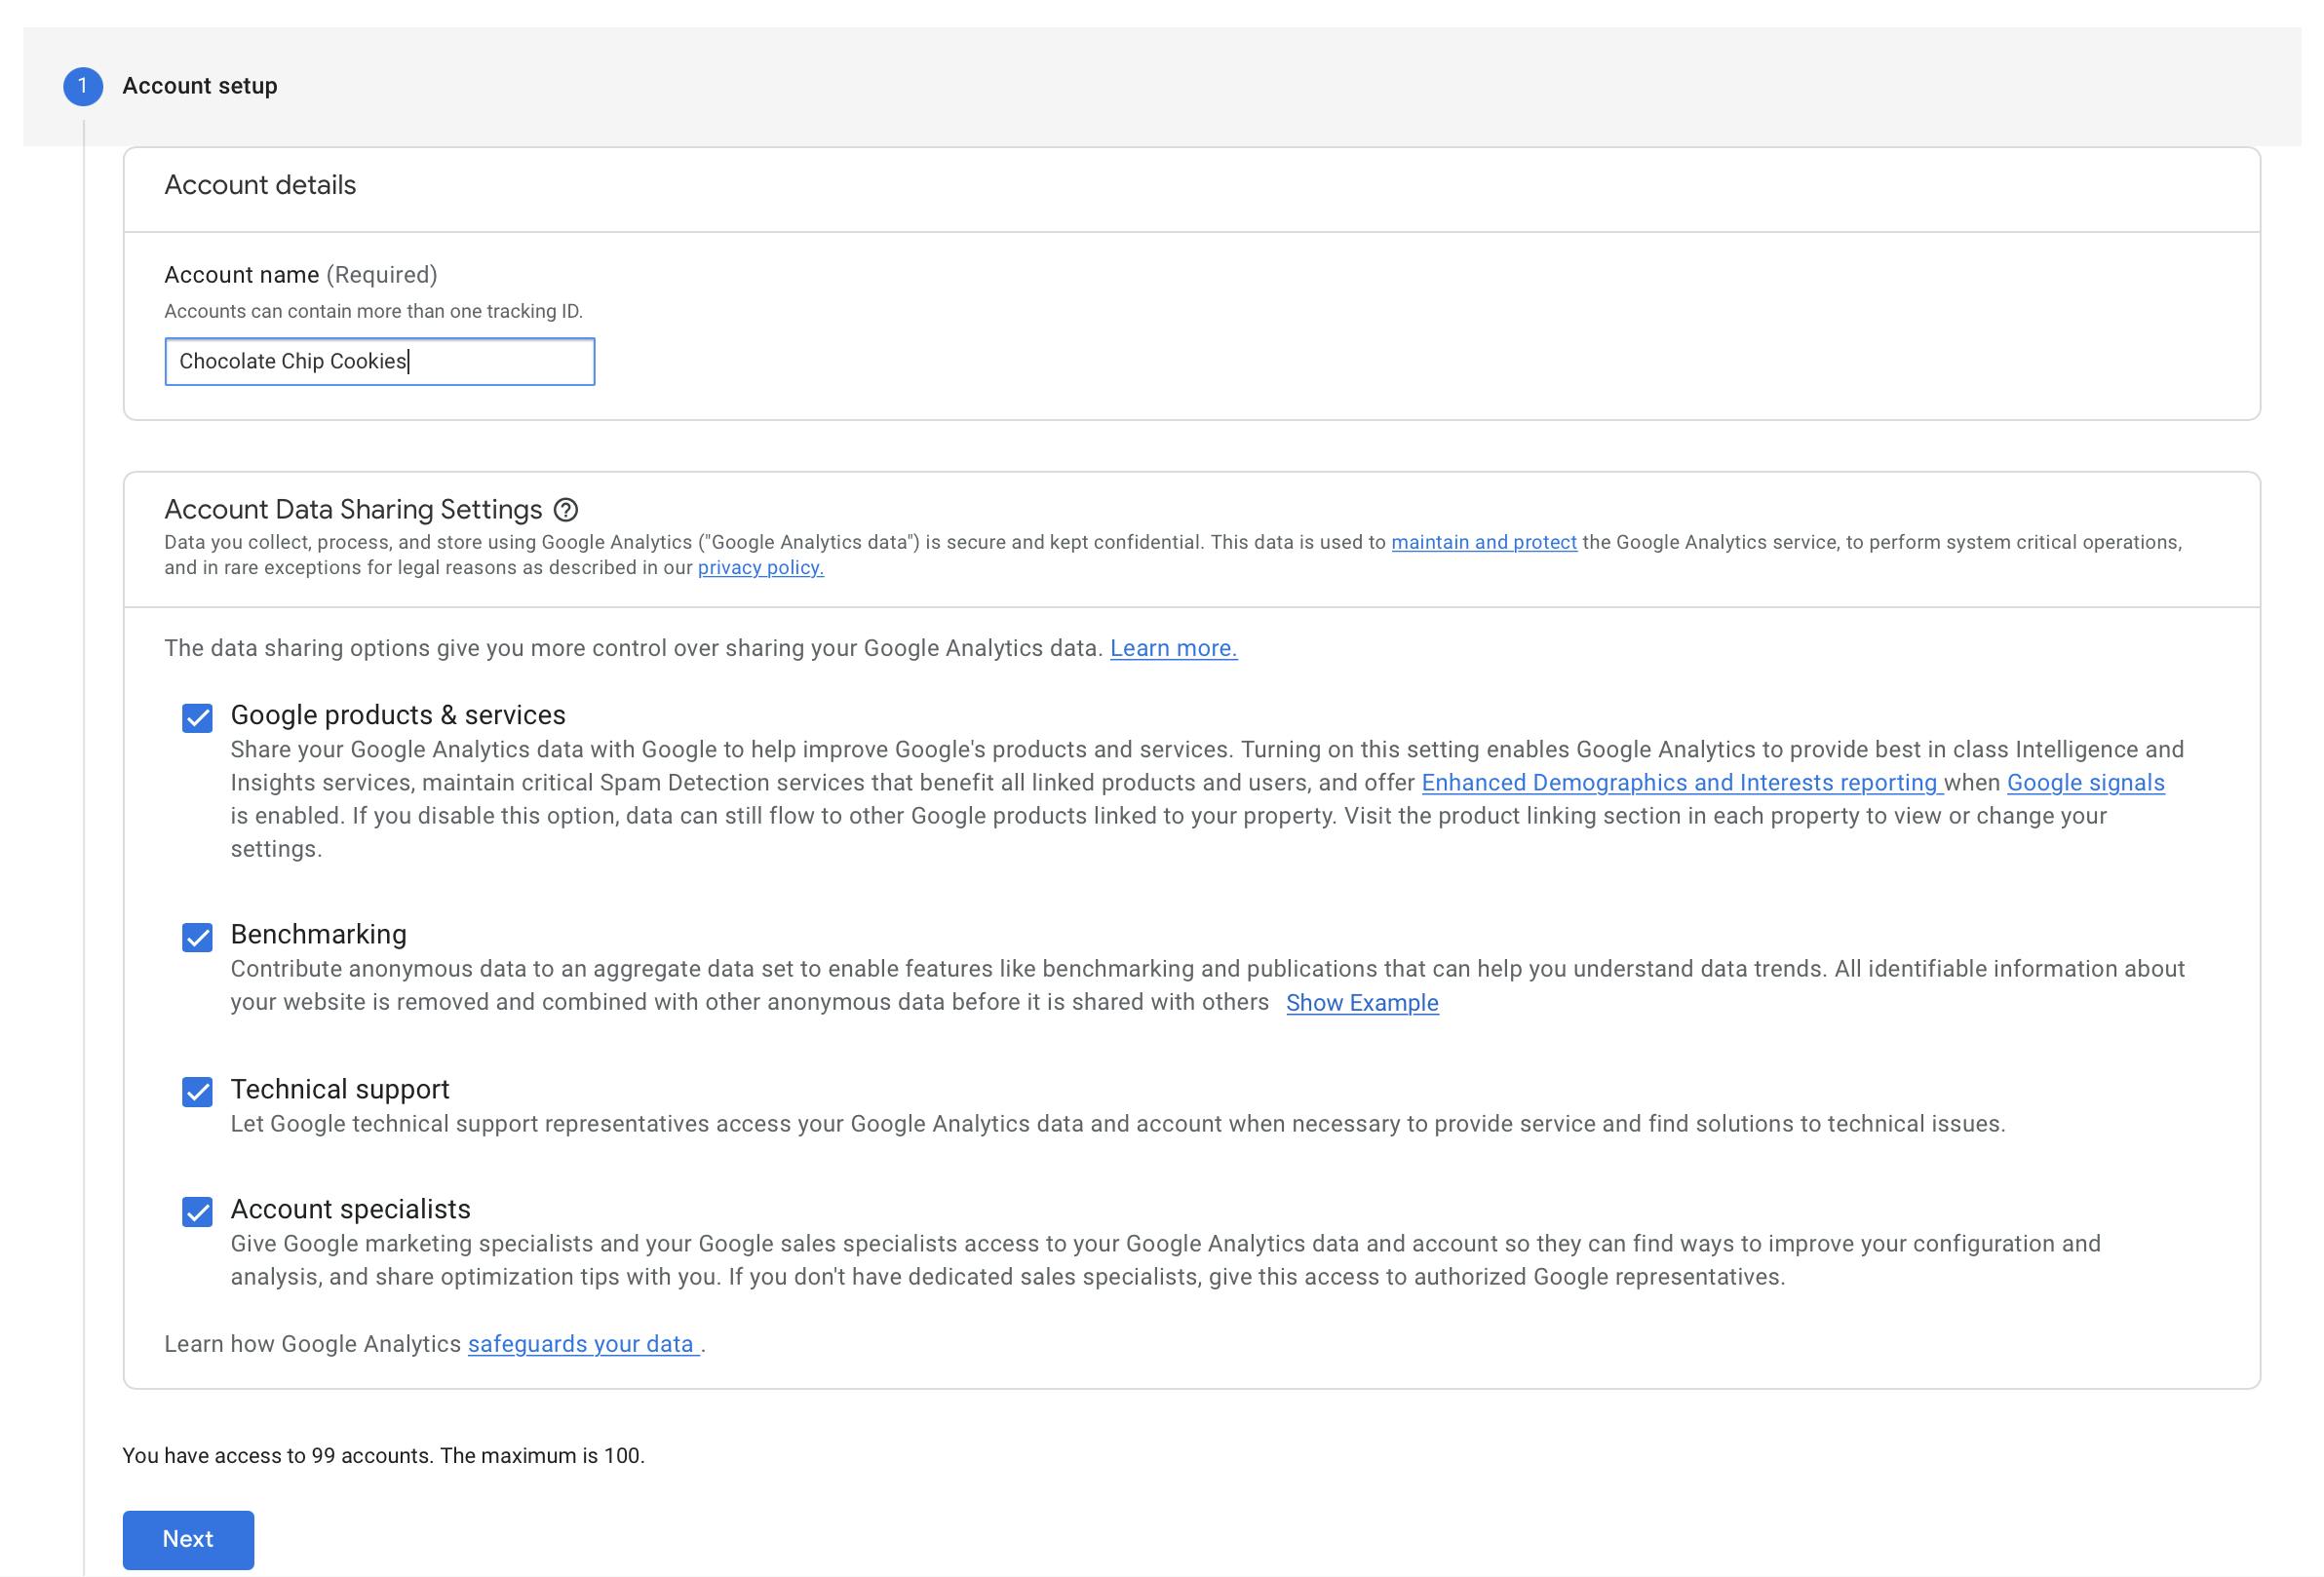
- First you will have to go through account setup. The account name can be anything you like and you can track multiple sites with one account.
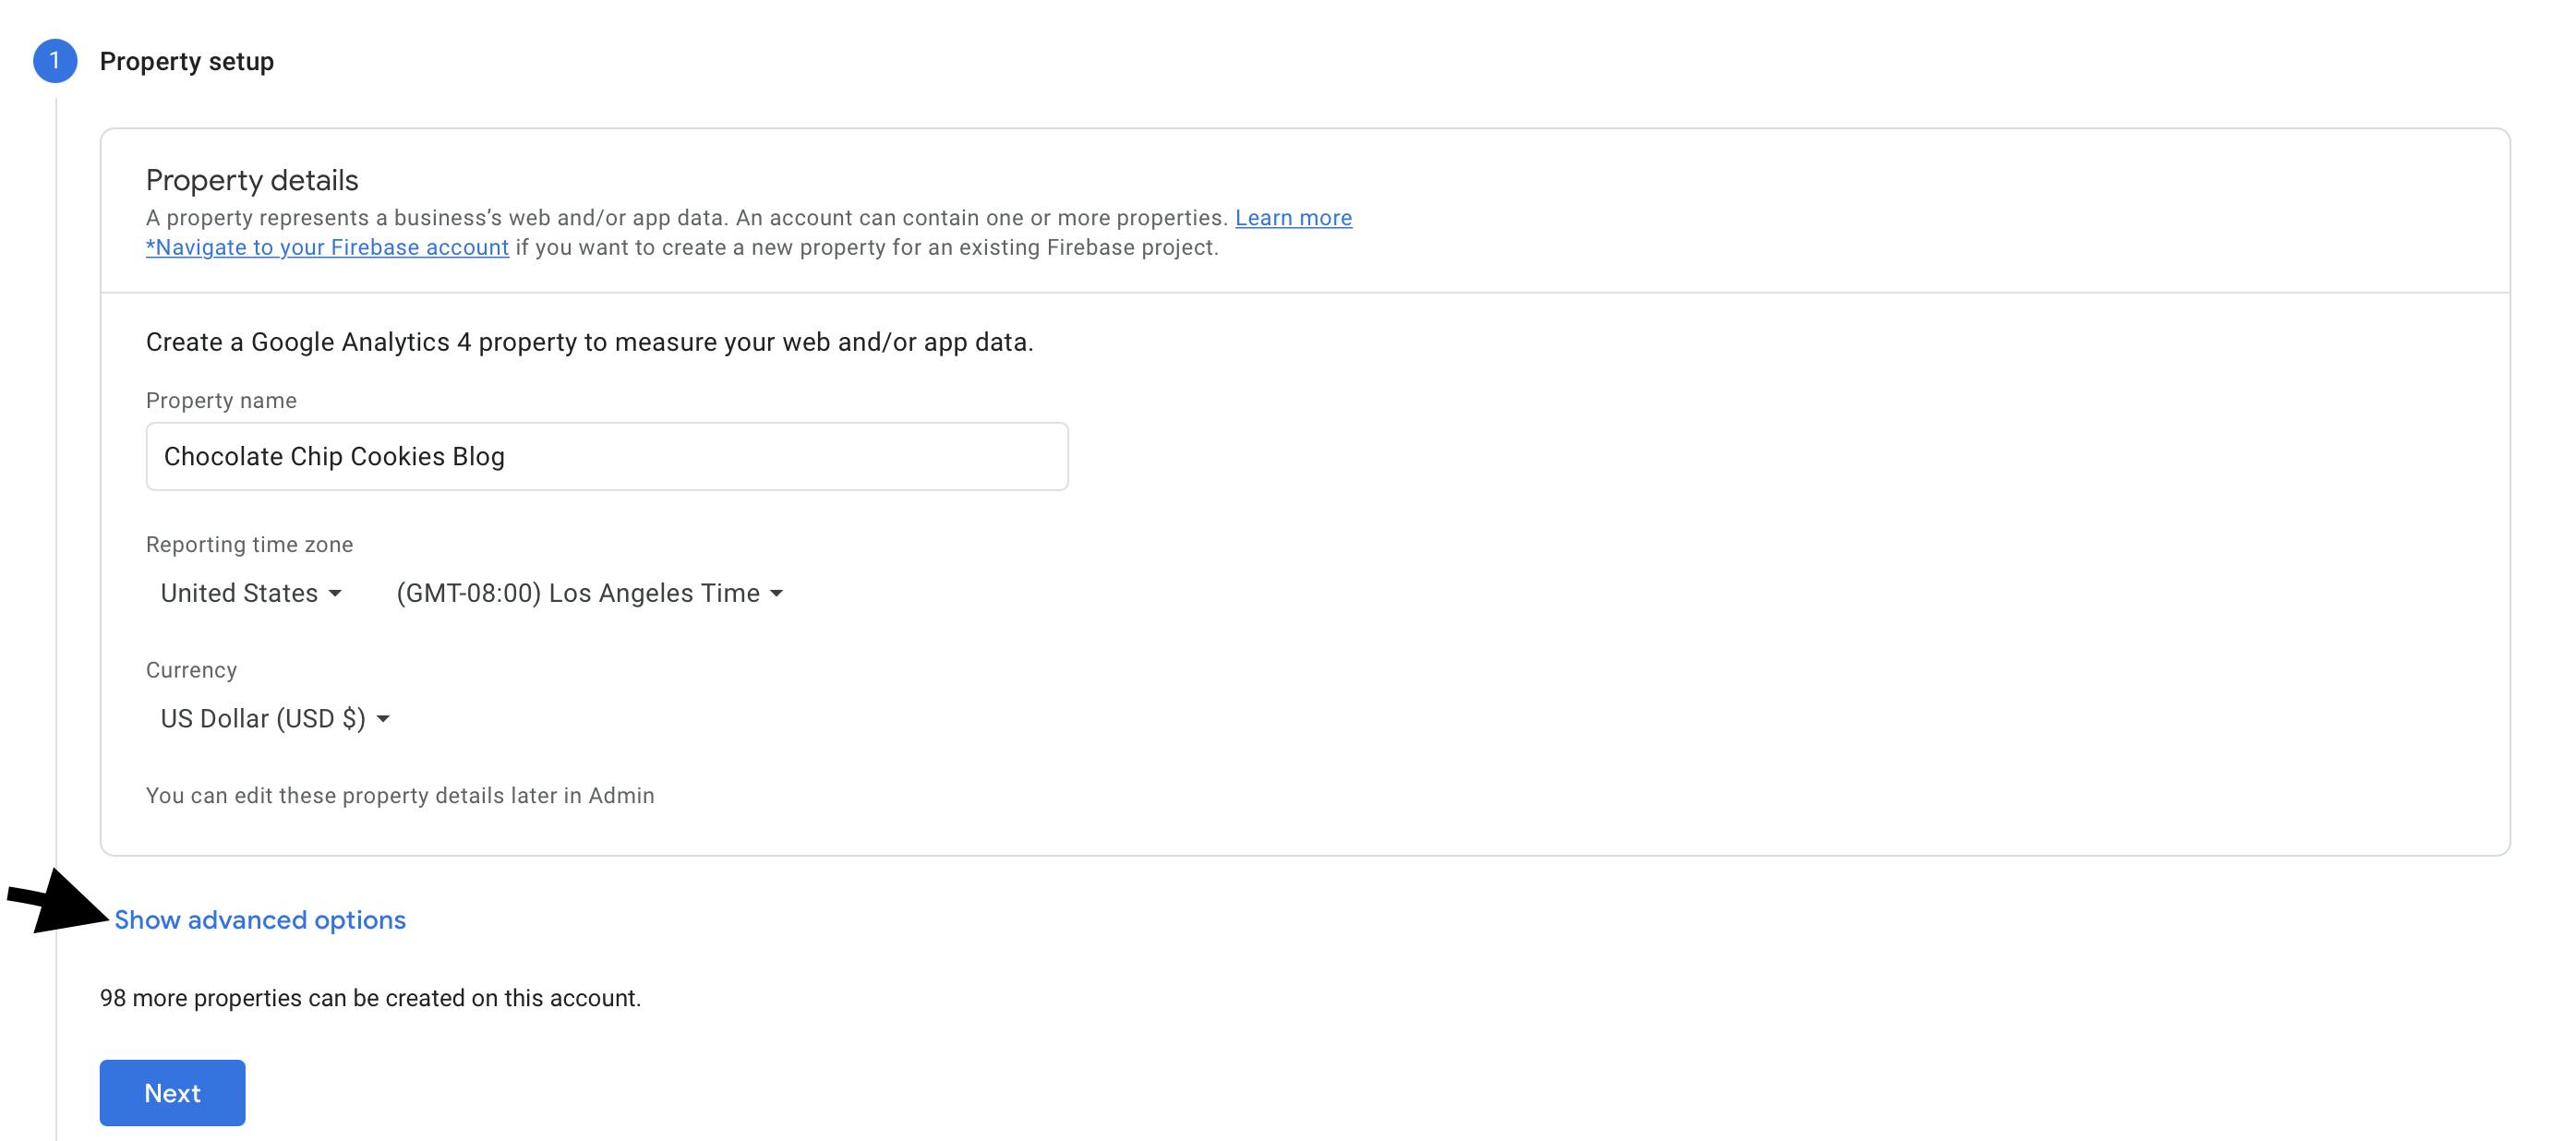
- Next you must setup a property. A property is equivalent to a site that you want to track. Enter the title of your website in the property name field.
- Recently Google has migrated to a newer version, Google Analytics 4 (GA4), that is not supported by Hashnode. Hashnode supports the older Universal Analytics (UA). The differences are complex, but core functionality is the same. To create a Universal Analytics property click on show advanced options (highlighted with an arrow below).
- Provide the URL of your blog. Since Hashnode only supports UA, we will only create a UA property. A GA4 property can be created later if necessary.

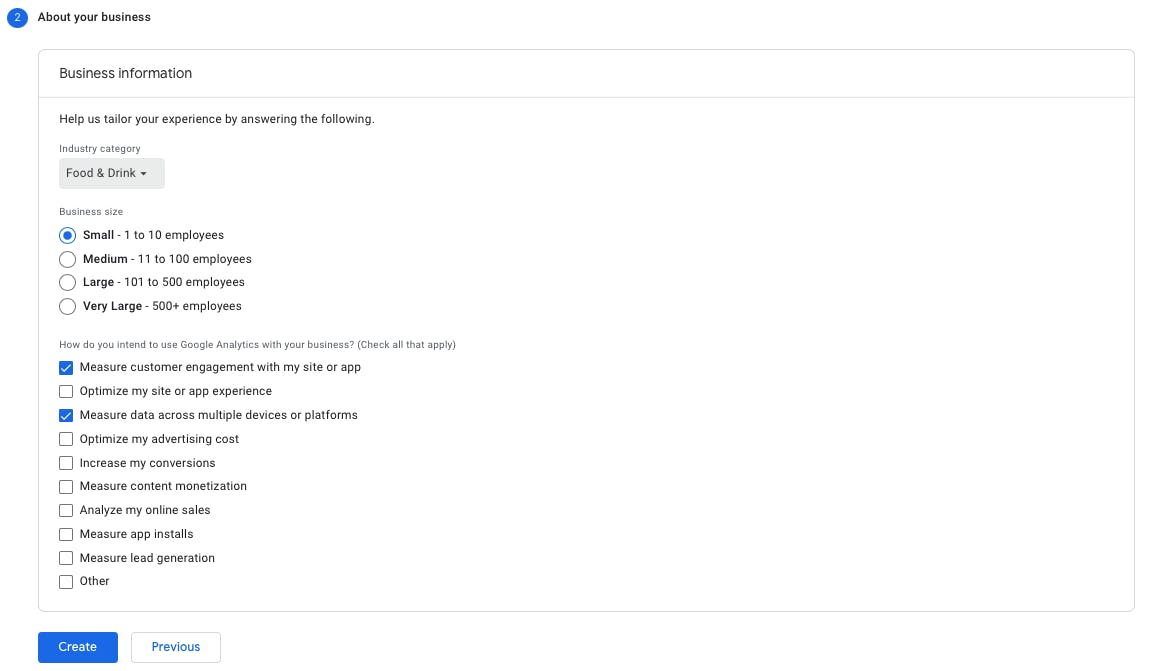
- Provide some basic information about your site and what you will be using Google Analytics for.
- After clicking create a Universal ID will be generated. It will be a number starting with UA. Copy this number and open your blog's dashboard on Hashnode.

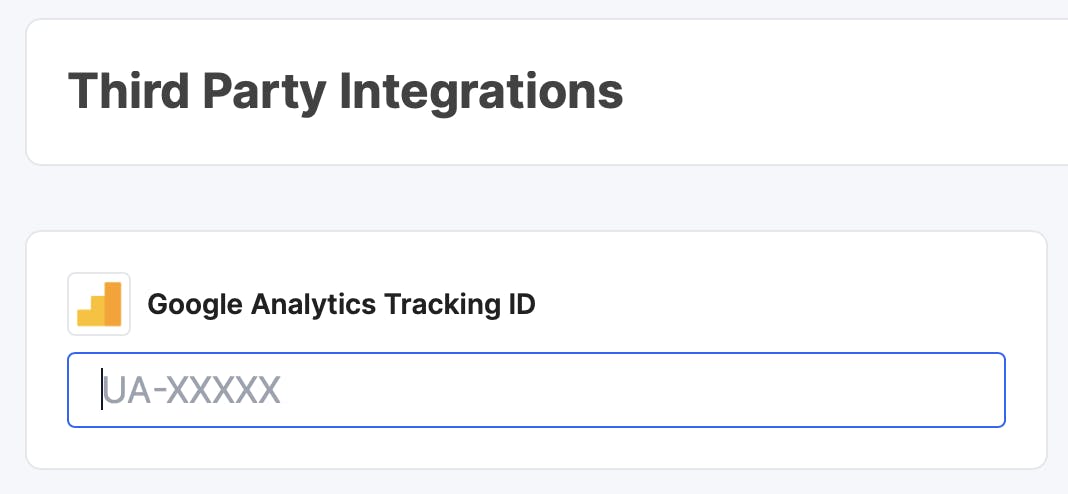
- Click on the integrations tab. Enter the Universal Analytics ID provided by Google Analytics. After entering the Universal Analytics ID click update at the bottom of the page.
- Now you can open Google Analytics and you will begin to see blog traffic data appearing as users visit your site.

That's it! Sit back and enjoy all the glorious new data.
